This was a multi-million-dollar Oakland Hills home that was probably built in the 1950’s. Building materials were better then, but the house had settled.
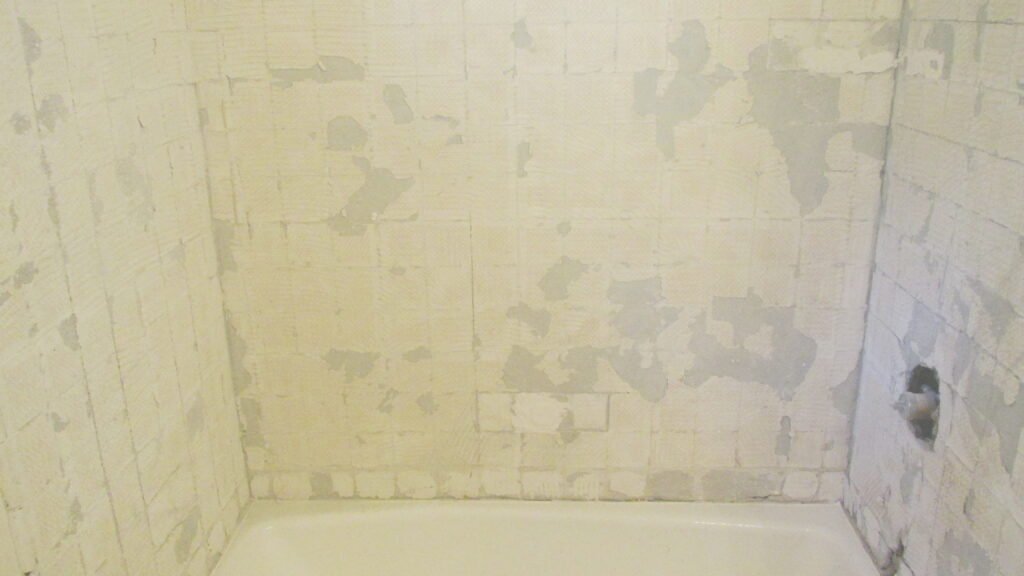


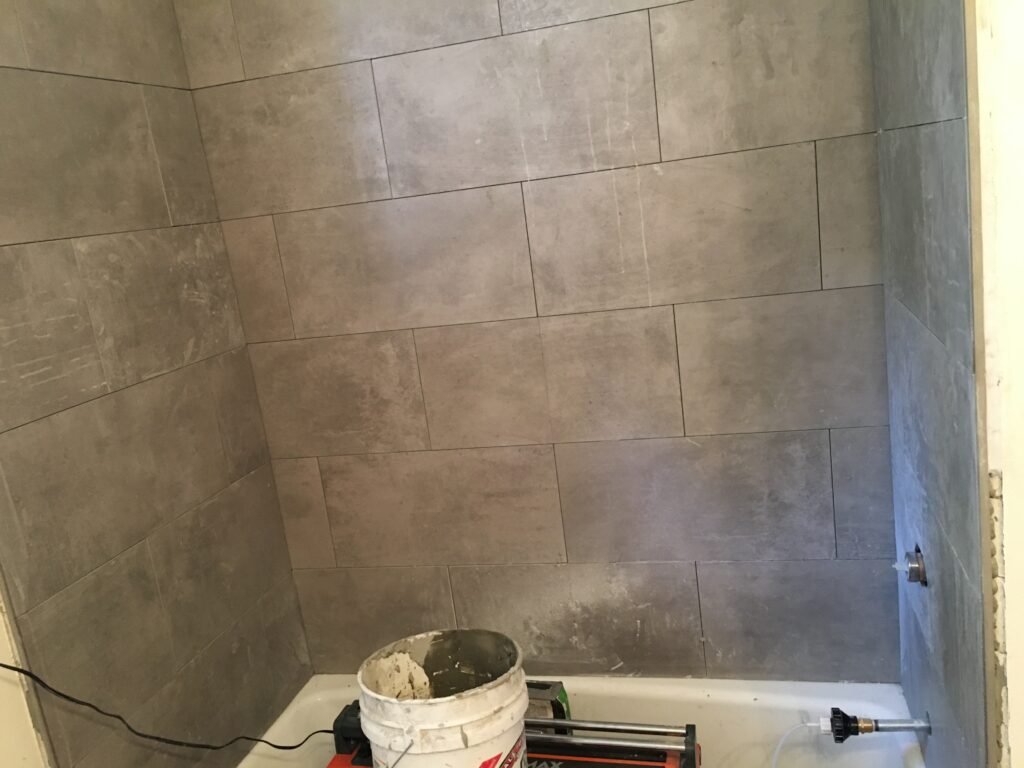
There wasn’t a right angle, a flat or plumb wall in this place. To boot, the groutline was 1/16″ of an inch. Generally speaking, the ‘tolerance’ (room for error) gets smaller as the groutline gets smaller. If you have a 1/2″ groutline, you can go to 3/8″ or 5/8″ (about 25% of the groutline itself), and not see it.
If you have a 1/16″ groutline, your ‘tolerance’ is about 1/64″. Maybe 1/32″ – if people are generous, not professionals, or don’t look closely.
Between these two factors – we seriously under-bid this job.
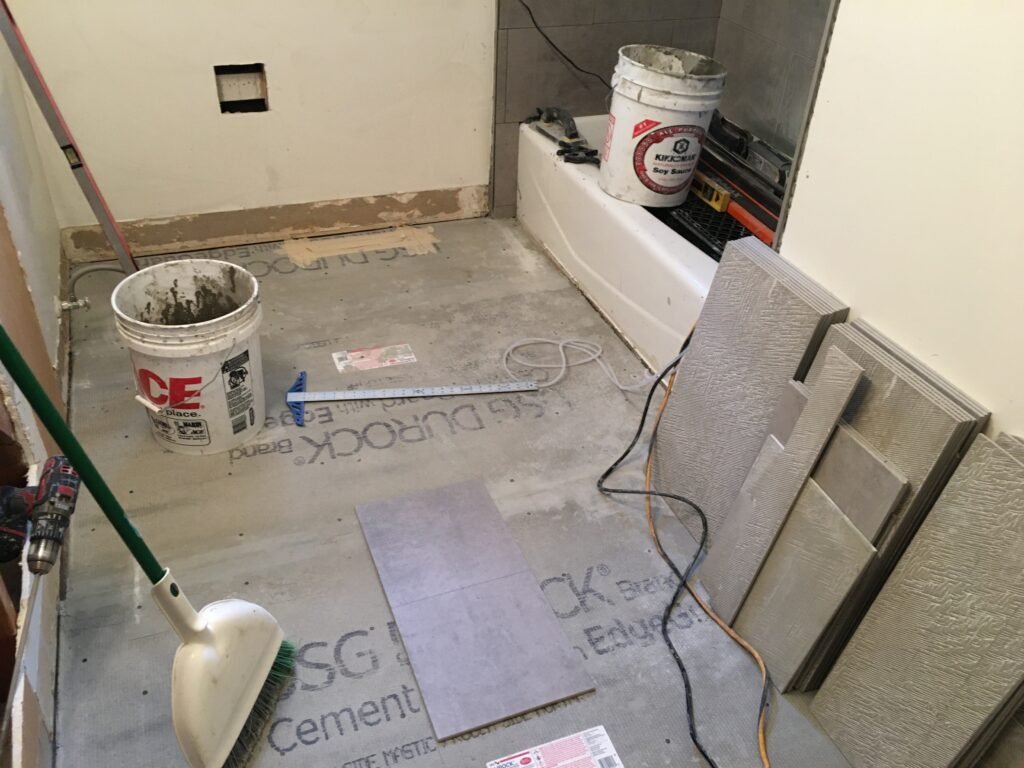
In the end, we spent 3.5 standard thinset mortar bags to correct out-of-plumb or out-of-level surfaces – since you build for ‘right’ on the outer layer.
You can use a leveling compound to flatten a horizontal surface. We chose not to do that, but generally applied thinset with a notched trowel tile-by-tile.
This was a 3-D puzzle, and the hardest job we’ve had to bring to a ‘pro’ level finish.